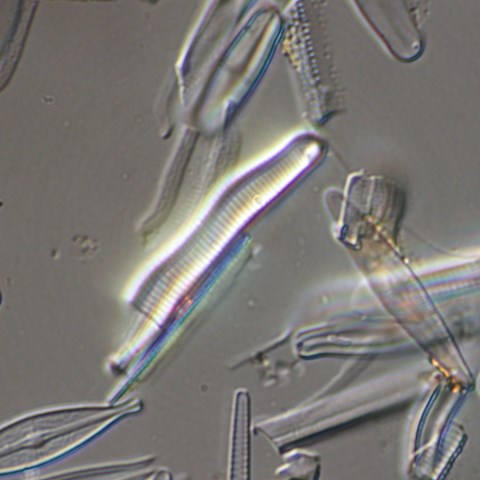
Diatom praparation according to Amelie Jarlman, January 2007
NOTE 1: This is one way of making diatom slides. You can find other methods in e.g. “EN 13946, 2003. Water quality – Guidance standard for the routine sampling and pretreatment of benthic diatoms from rivers”.
NOTE 2: Be aware of the risk of contamination! Use disposable plastic vials with lid and plastic pipettes, and throw them away after use. Use separate pipettes for the different samples! Use the lid during the whole process, firmly screwed on when centrifugating and loosely screwed on during the process of adding H2O2 and in the oven.
Try to avoid making preparations of samples from very oligotrophic and eutrophic/polluted sites at the same time.
Procedure
- Let the sample sediment for a couple of days and decant some of the water/alcohol.
- Homogenise the sample by shaking it and pour a couple of ml into the centrifuge tube.
- Fill the tube with de-ionized/distilled water and centrifugate (3500 rounds/minute for 10-15 minutes). After centrifugation, a small amount of material (about 0,2-0,3 ml) should be visible at the bottom of the centrifuge tube. If you have samples with only very little material: repeat the centrifugation until you have enough material in the tube.
- Put the tubes in racks, with distance in between. Add just 1-2 drops of H2O2 (30%). Wait until reaction stops.
- Continue adding H2O2 until there is about 10 ml in the tube. (This may take a while if there is a violent reaction with the H2O2. Sometimes it’s a good idea to leave the sample over night and continue adding H2O2 the next day.)
- Put the centrifuge tubes (in the rack), with the lids screwed on loosely, in an oven for a couple of hours or overnight (80-90 ºC).
- Take the samples out of the oven and let them cool a little.
- If there is still a lot of organic material, centrifugate and repeat the procedure with the H2O2.
- If the samples are brownish because of presence of iron, add a few drops of HCl while the samples are lukewarm. Wait a couple of minutes to see if the sample turns yellowish. If not, add a few more drops of HCl.
- Wash the samples with de-ionized/distilled water (centrifugate 3500 rounds/minute for 10-15 minutes; decant upper layer of water; add de-ionized/distilled water and centrifugate again) 3 times, or 5 times if HCl was added.
- Add a little de-ionized/distilled water, shake, and hold the centrifuge tube up to the light. The sample should now be whitish.
- If needed, put a drop of the suspension on a microscope slide and check the concentration of diatom valves (400x magnification).
- Wash the coverslips (with alcohol, H2O2, or washing-up detergent)! A drop of water should spread easily over the surface.
- Put e.g. (depending on the size of the coverslip) two drops of the suspension on the first coverslip, four on the second, and six on the third to get different densities. One should be good for counting, and one a bit denser to make it easier to look for different species.
- Leave the coverslips to dry. Check the density macro- or microscopically. Be careful not to contaminate the coverslips if touching them with your fingers!
- Put one drop of Naphrax on the microscope slide and let it dry a little bit. Invert the microscope slide onto the coverslip (this way you don’t have to touch the coverslip with your fingers).
- Heat shortly and not too much over a flame. Stop when the bubbling slows down. Note: dangerous fumes!
- Let the slides cool lying upside down on e.g. wooden sticks (if some valves come loose from the coverslip during heating, they can sediment back onto the coverslip again.
